Are you curious about how to effectively utilize ChatGPT for your conversations? In this blog post, we’ll provide you with a comprehensive step-by-step guide on using ChatGPT and compare various AI tools to help you determine the best fit for your needs.

Understanding ChatGPT

ChatGPT is a cutting-edge AI language model developed by OpenAI. It’s designed to generate human-like text based on the input it receives, making it a versatile tool for a wide range of applications, from answering questions to creative writing and more.

Step-by-Step Guide to Start ChatGPT

Opened AI ChatGPT Laptop

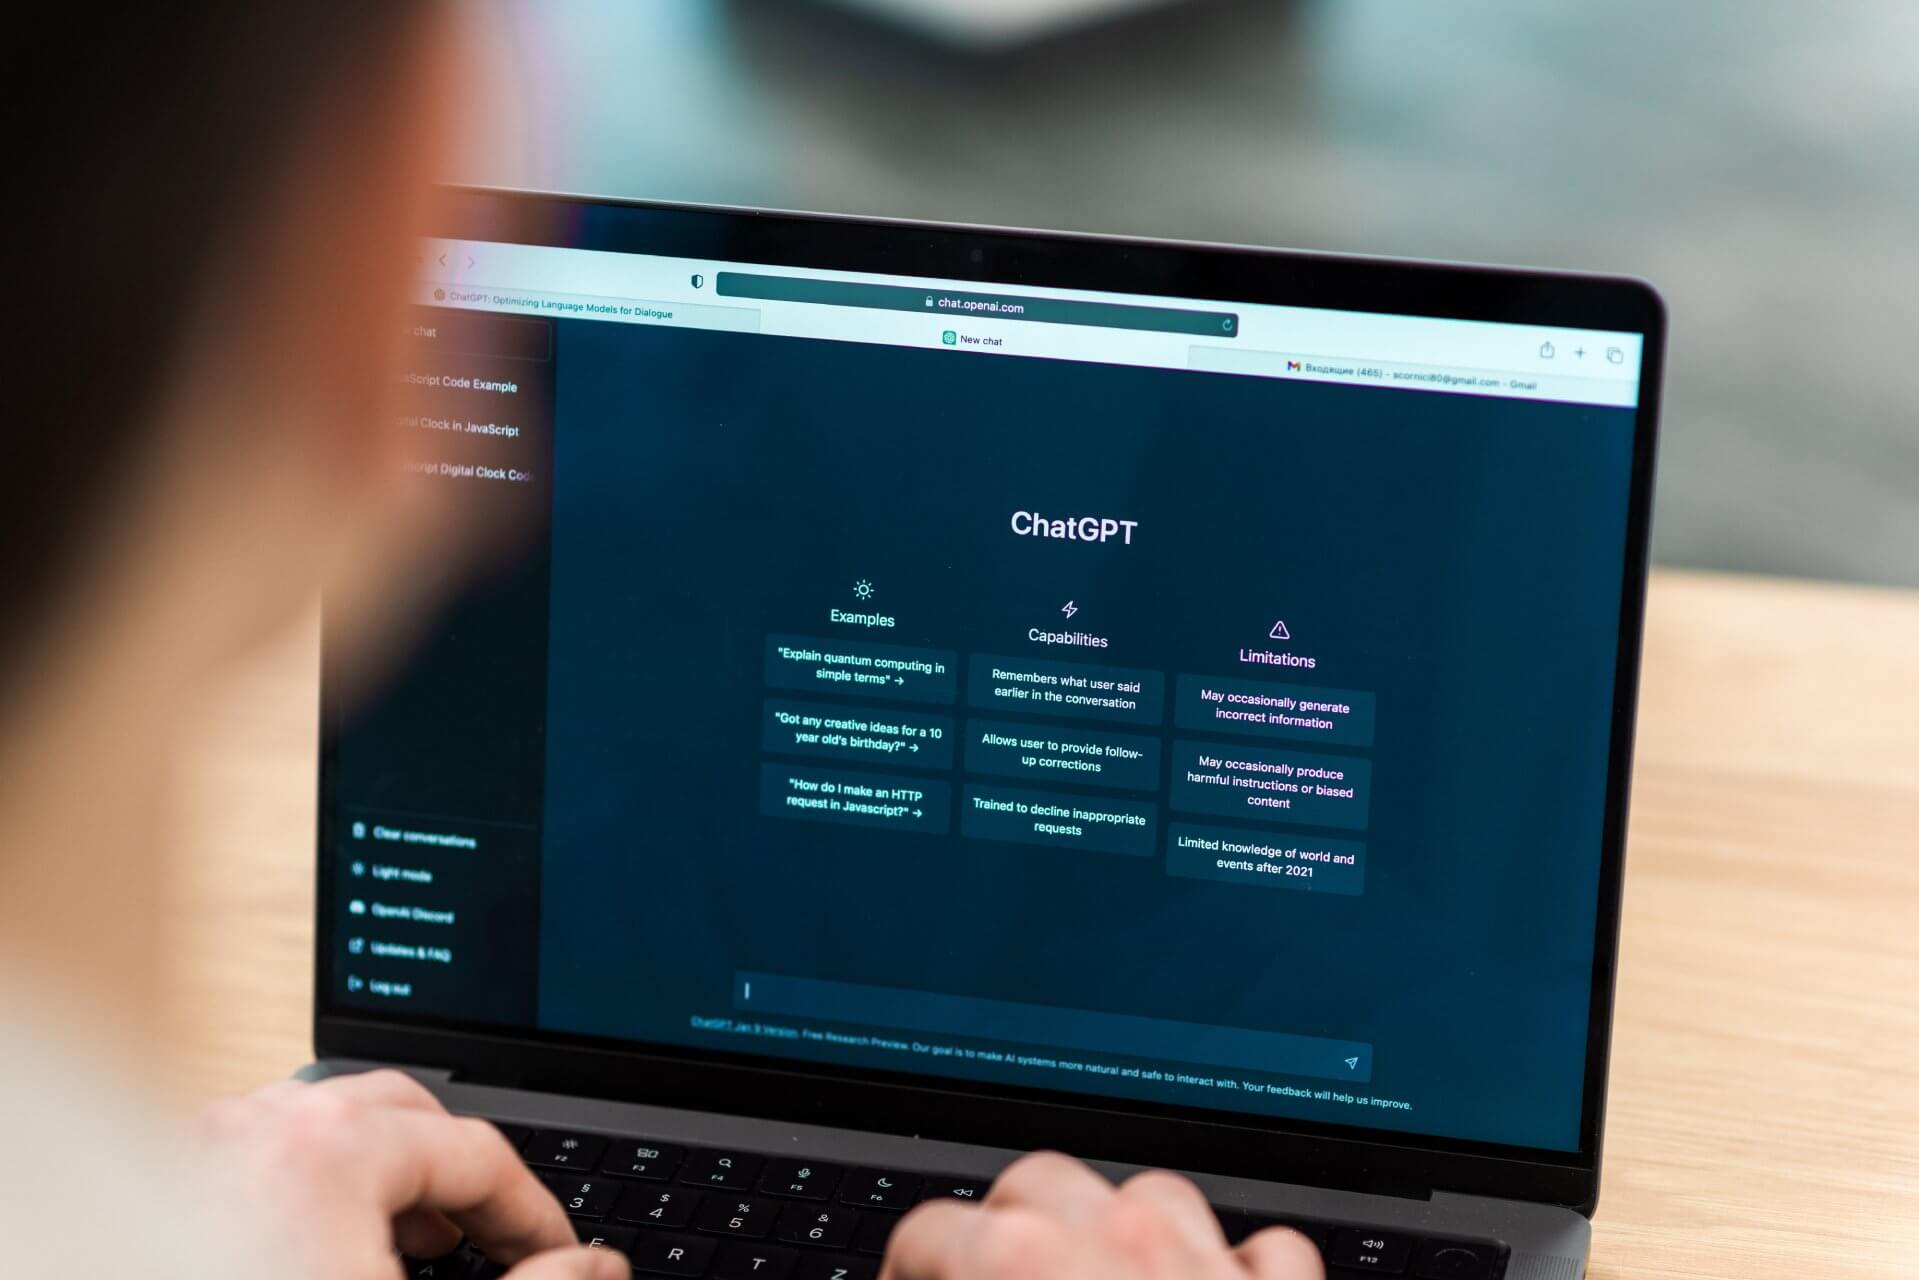
Step 1: Access the Platform

Visit the OpenAI platform where you can interact with ChatGPT. You may need an API key or subscription depending on the usage.

Step 2: Define Your Purpose

Decide why you’re using ChatGPT. Are you seeking answers, generating content, or having a casual conversation? Clear goals will help you provide accurate instructions.

Step 3: Craft Your Prompt

Write your initial message or prompt. Be clear and concise in conveying your query or topic to ChatGPT.

Step 4: Set the Tone

Specify the desired tone, style, or mood you want the AI response to reflect. This helps tailor the output to your needs.

Step 5: Receive AI Response

ChatGPT will generate a response based on your prompt. Review the output and assess whether it aligns with your expectations.

Step 6: Iteration and Refinement

If necessary, iterate by providing follow-up prompts to refine the conversation. ChatGPT responds to context, so use previous interactions as a basis.

Step 7: Review and Edit

Always review and edit the AI-generated text to ensure accuracy and appropriateness before using it in any context.

AI Tools for ChatGPT Comparison

There are several AI tools available that leverage ChatGPT’s capabilities. Some notable options include:

  1. OpenAI Playground: A user-friendly platform to experiment with ChatGPT interactively.
  2. GPT-3 Chatbot Platforms: Various platforms integrate GPT-3, allowing you to create custom chatbots for your website or application.
  3. API Integrations: Some developers have built their own tools by integrating the GPT-3 API directly into their applications.

Which AI Tool Is Best?

The “best” AI tool depends on your specific requirements. The OpenAI Playground is great for experimentation, while GPT-3 chatbot platforms are ideal for creating functional chatbots. Custom API integrations provide maximum flexibility but require more technical expertise.

Conclusion

Using ChatGPT effectively involves understanding its capabilities and tailoring your prompts accordingly. By following our step-by-step guide, you can navigate conversations with this AI tool seamlessly. Additionally, assessing available AI tools and their features will help you determine the best fit for your particular use case. Whether you’re looking to enhance customer interactions or generate creative content, ChatGPT and its associated tools offer a wealth of possibilities to explore.

In today’s digital landscape, user experience is paramount, and Google’s Core Web Vitals have become a critical factor in determining the quality of that experience. These metrics, which include Largest Contentful Paint (LCP), First Input Delay (FID), and Cumulative Layout Shift (CLS), directly impact how users perceive your website’s loading speed, interactivity, and visual stability. In this comprehensive guide, we’ll delve into what Core Web Vitals are, why they matter, and most importantly, how you can optimize them for your WordPress website.

Understanding Core Web Vitals

1. Largest Contentful Paint (LCP)

LCP measures the time it takes for the largest content element on your page to become visible to users. To improve LCP:

  • Optimize images: Compress and appropriately size images to ensure they load quickly.
  • Use browser caching: Leverage caching techniques to store frequently accessed elements.

2. First Input Delay (FID)

FID gauges the time it takes for a page to respond to a user’s first interaction. To enhance FID:

  • Minimize JavaScript execution: Optimize and defer non-essential JavaScript to prevent delays.
  • Utilize browser caching: Enable browser caching to reduce the load on the user’s device.

3. Cumulative Layout Shift (CLS)

CLS measures the visual stability of your page as it loads. To minimize CLS:

  • Set image dimensions: Specify image dimensions in your HTML to prevent sudden layout shifts.
  • Load assets properly: Load elements in a way that doesn’t disrupt the page’s layout.

Why Core Web Vitals Matter

Google considers Core Web Vitals as a ranking factor, which means websites that provide better user experiences according to these metrics are likely to rank higher in search results. Moreover, a site optimized for Core Web Vitals leads to reduced bounce rates, increased engagement, and ultimately, better conversion rates.

Optimizing Core Web Vitals on Your WordPress Site

1. Choose a Lightweight Theme

Select a theme that’s designed with performance in mind. A lightweight theme reduces the load on your site and enhances user experience.

2. Compress and Optimize Images

Use image compression tools or plugins to reduce file sizes without sacrificing quality. Ensure you’re using responsive images to cater to various device sizes.

3. Minimize and Optimize JavaScript

Limit the use of unnecessary JavaScript and optimize the code to improve FID. Use async and defer attributes appropriately.

4. Prioritize Above-the-Fold Content

Ensure that the most critical content loads quickly, minimizing the impact of LCP. Prioritize loading above-the-fold content before below-the-fold content.

5. Leverage Caching

Utilize caching plugins to store static resources and reduce loading times for returning visitors.

6. Eliminate Render-Blocking Resources

Move render-blocking resources like CSS and JavaScript to non-blocking positions to enhance page load speed.

7. Opt for Lazy Loading

Implement lazy loading for images, videos, and other non-essential elements to improve LCP.

8. Monitor and Test Regularly

Use tools like Google PageSpeed Insights, GTmetrix, or Lighthouse to monitor your Core Web Vitals regularly. Continuously test and optimize your site based on the insights you gather.

In Conclusion

Optimizing Core Web Vitals is no longer an option but a necessity to provide a seamless user experience and maintain a competitive online presence. By understanding these metrics, their impact, and implementing the strategies outlined in this guide, you’re well on your way to creating a WordPress website that not only meets Google’s standards but exceeds user expectations. Your dedication to providing an exceptional online experience will undoubtedly lead to higher engagement, improved rankings, and satisfied visitors.

In today’s digital landscape, the speed at which your WordPress site loads can significantly impact user experience, search engine rankings, and conversion rates. Slow-loading sites lead to higher bounce rates and frustrated visitors. In this guide, we’ll delve into the optimal loading times, followed by practical steps to decrease page loading times and enhance your WordPress site’s performance.

How Fast Should a Site Load?

Before diving into optimization strategies, it’s essential to understand loading time benchmarks. Ideally, your site should load within 2 to 3 seconds. Any longer, and you risk losing visitors’ interest and potential customers. Google even considers loading time as a factor in its search ranking algorithm, underlining the importance of a swift site.

How To Decrease Page Loading Times

1. Run a Site Speed Diagnosis

Start by evaluating your site’s current speed using tools like Google PageSpeed Insights, GTmetrix, or Pingdom. These tools provide insights into what’s slowing down your site and offer suggestions for improvement.

2. Delete Unused Plugins and Themes

Unused plugins and themes can bloat your site and slow it down. Remove any plugins or themes that you no longer use to lighten your site’s load.

3. Clean Up Your Media Library

Regularly remove unneeded images and media files from your library. Compress images before uploading and consider using plugins that optimize media on the fly.

4. Clean Up Your Database

Optimize your database by removing unnecessary data, such as post revisions, spam comments, and transients. WordPress optimization plugins can automate this process.

5. Remove Render-Blocking JavaScript and CSS

Minimize render-blocking resources by placing critical CSS in the header and non-critical JavaScript at the end of the body. This prevents these resources from blocking the rendering of the page.

6. Minify CSS, HTML, and JavaScript

Minification reduces the size of CSS, HTML, and JavaScript files by removing unnecessary whitespace and characters. Use plugins or online tools to minify your code.

7. Optimize Images

Compress images without compromising quality. WordPress plugins can automate this process, ensuring your images load quickly while maintaining visual appeal.

8. Lazy-Load Long Pages

Implement lazy loading to defer the loading of images and videos until users scroll down the page. This reduces the initial load time and conserves bandwidth.

9. Limit Comments Per Page

If your posts attract numerous comments, limit the number displayed per page. Excessive comments can slow down loading times, especially on long posts.

10. Reduce Redirects

Each redirect adds a delay to your page’s loading time. Minimize unnecessary redirects and use them only when essential.

11. Reduce Post Revisions

WordPress saves revisions of your posts, which can accumulate over time. Limit the number of revisions saved or use a plugin to manage them efficiently.

12. Disable Pingbacks and Trackbacks

Pingbacks and trackbacks create unnecessary requests on your site, affecting its loading speed. Disable them in your WordPress settings.

13. Run the Latest Version of PHP

Using an outdated version of PHP can slow down your site. Ensure you’re running the latest supported version for optimal performance.

14. Choose a Fast, Lightweight Theme

Select a theme that is optimized for speed and performance. Avoid themes with excessive design elements that can bog down your site.

15. Use a CDN (Content Delivery Network)

A CDN distributes your site’s content across multiple servers, reducing the physical distance between users and your site’s server. This improves loading times, especially for global audiences.

16. Leverage Browser Caching

Configure your server to enable browser caching. This stores static resources on users’ devices, allowing faster loading times upon subsequent visits.

17. Move to a Dedicated Server

If you’re experiencing high traffic, consider upgrading to a dedicated server or a Virtual Private Server (VPS) to ensure consistent performance.

18. Consider Your Hosting Infrastructure

Choose a hosting provider that offers performance-focused features like SSD storage, server-level caching, and optimized server configurations.

WordPress Site Speed Optimization Plugins

Several plugins can streamline the optimization process. Notable options include:

  • WP Rocket
  • W3 Total Cache
  • Autoptimize
  • Smush (for image optimization)
  • WP-Optimize (for database optimization)

In conclusion, a fast-loading WordPress site is essential for user satisfaction and business success. By following these strategies and utilizing the recommended plugins, you can dramatically improve your site’s loading times, enhancing both user experience and search engine rankings. Remember, consistent monitoring and ongoing optimization are key to maintaining a high-performing website.